Defintion
Assesments
Certifications
We were taught how the fabrication process usually looks like.
We then went through how we would be assessed as well as our course schedule
Teacher told us the safety tests which we would do next lesson.
Introduction and Safety
We were taught how the fabrication process usually looks like.
We then went through how we would be assessed as well as our course schedule
Teacher told us the safety tests which we would do next lesson.
We were taught COVID SAFETY in the FabLab via a Youtube Video.
We then went through how we would be assessed as well as our course schedule
Which I passed of course!
9/10 baby!
Tools, Documentation and HTML
Teacher told us essential tools that students use for fabrication and it was really awesome to know. As there was so many options in the industry and I was really confused..
The main programme we would use was Fusion 360. And the rest of it was Photoshop, Illustrator and Sublime to make this website.
I'm from Media, Arts and Design school so I already had these softwares.
Mr Rdor told us why documentation is so important when doing such work as these are a few reasons.
1. If you didn't document it, it didn't happen
2. Aim to collect information, so we can recover our knowledge
3. Generate resources on the information.
This was where it got into my zone. As I learnt HTML in my modules, this was right up my alley and very easy to pickup.
Brought a little nostalgia to be honest.
We learnt about how the structure of a HTML code should be. Where we should put our folders, and what we should name them.
There was a list of basic HTML which we needed to learn and the Teacher explained it very clearly.
We first learning importance of Headings and Paragraphs, and how it affects our positioning and sizing.
Then we learnt styling which we will learn in Week 3, for CSS.
We learn formatting for bold and italic text etc..
We learnt how to link images, Urls'
Lastly, we learnt how to create a list and made our own page.
CSS and GIT
We first learnt how to Link our CSS stylesheet to our HTML code in the <head> element.
When then learnt Layout elements and Techniques. Which we used Block-Level and Inline Elements.
We saw the Typical project page breakdown.
Then my favourite part where we got to add colours as well with the code:
"background-color: lightgrey; color: blue"
Personally my favourite color is orange :D
We then learnt the CSS Rule Syntax where the "selector" selects the HTML element, and the "declaration block" holds the CSS formatting.
Selectors:
- ID (Once)
- Class (Mulitple times)
We learnt to make the Navigation Bar which I have never tried.
Mainly its made up of Ordered and Unordered lists haha...
First, we made a Github account and downloaded the software.
We made a repository for our project space, and then a page for our main documentation website to be hosted on.
Did you know Github offers free cloud web hosting service?? I mean wix also does, but I always thought Github was more for like programming nerds and what not hahaha...
We also learnt Github general workflow which Mr Rdor taught us.
Gonna be honest, it was so confusing at the start. But dang now it makes so much more sense..
And this, the holy grail. You GET TO COPY A GIT WEBSITE??
That's literally cheating, but so cool!! Less effort for me haha!
Computer Graphics, CAD 2D Drawing and 3D Printing

Fusion 360 was where I had my most fun in DFAB classes. I enjoyed sketching, extruding, modelling, meshing. And as a family with a mechanical engineering background, this was truly the most enjoyable part of DFAB
I first did the chest piecethat we all were required to do. I did up the
sketch of the 3 base plates, then traced out a horse chess piece image
in illustrator to get the sketch out. I then extruded and fillet everything
to make it all smooth.
However, next I wanted to do 3D print something that represents me. So since I go to the gym everyday, I decided to print a dumbell chess piece. That was purposely out of proportion of the chess base.
I modeled the dumbel myself and did not trace any image online. Making the task slightly harder. BUT I DID IT!!
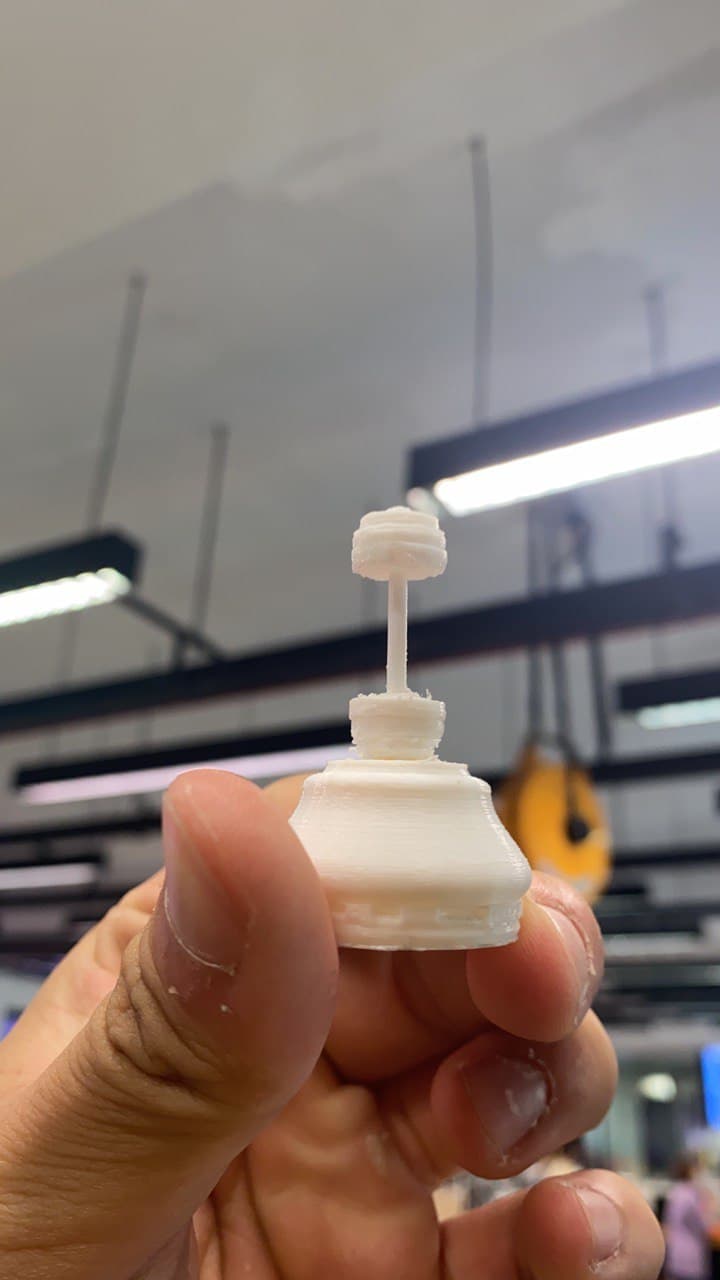
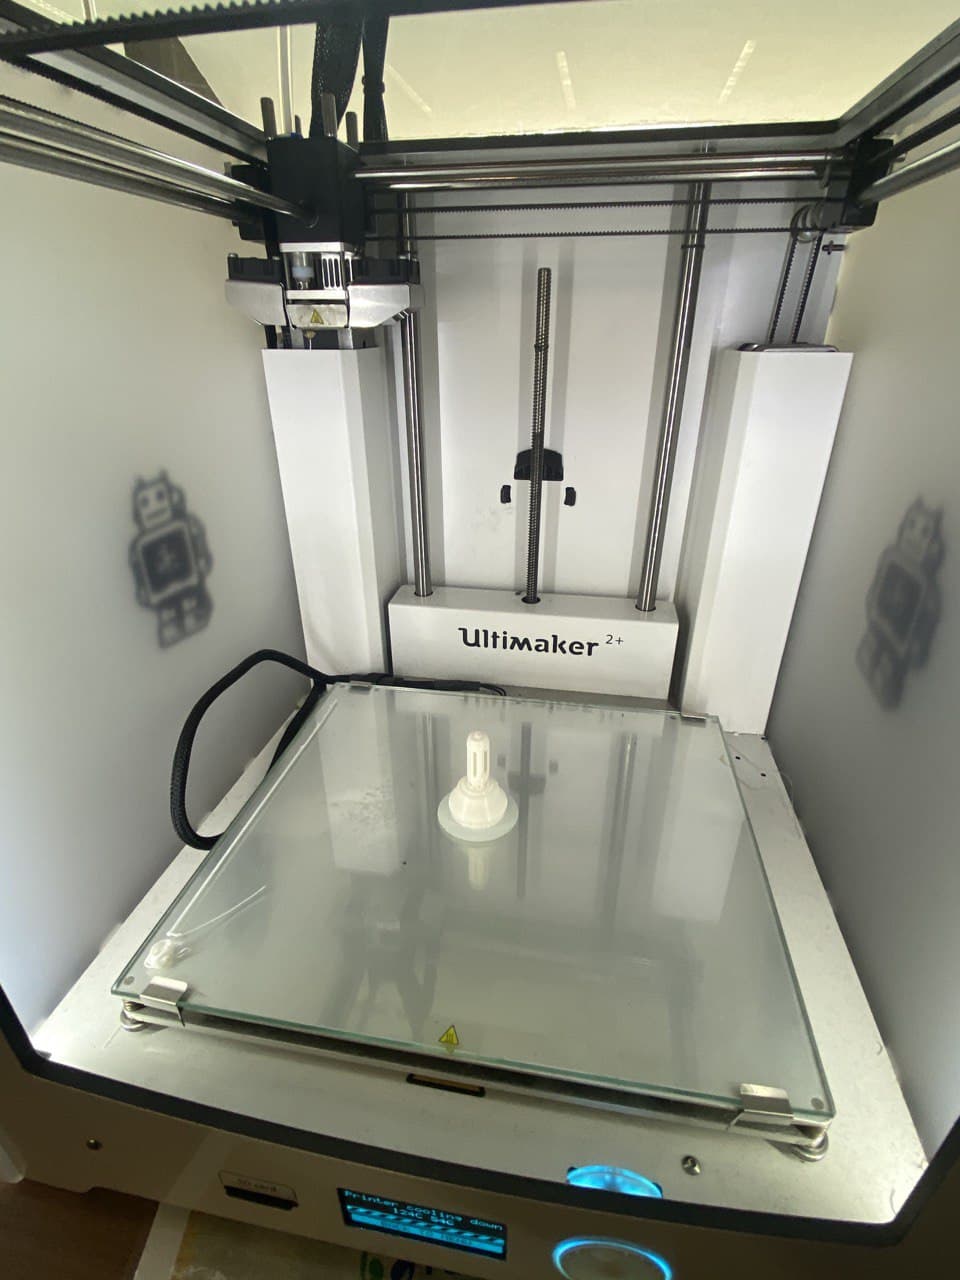
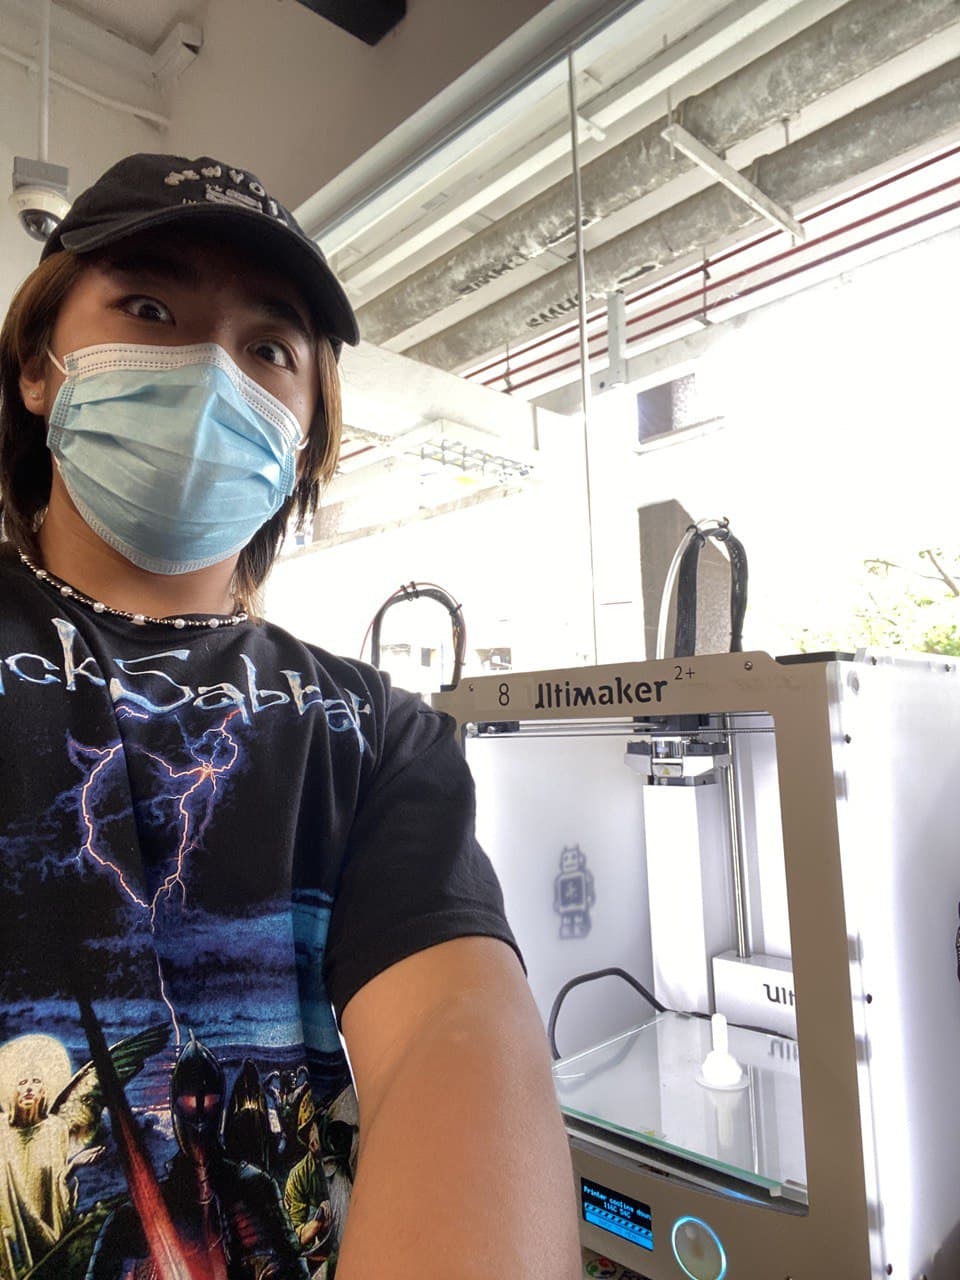
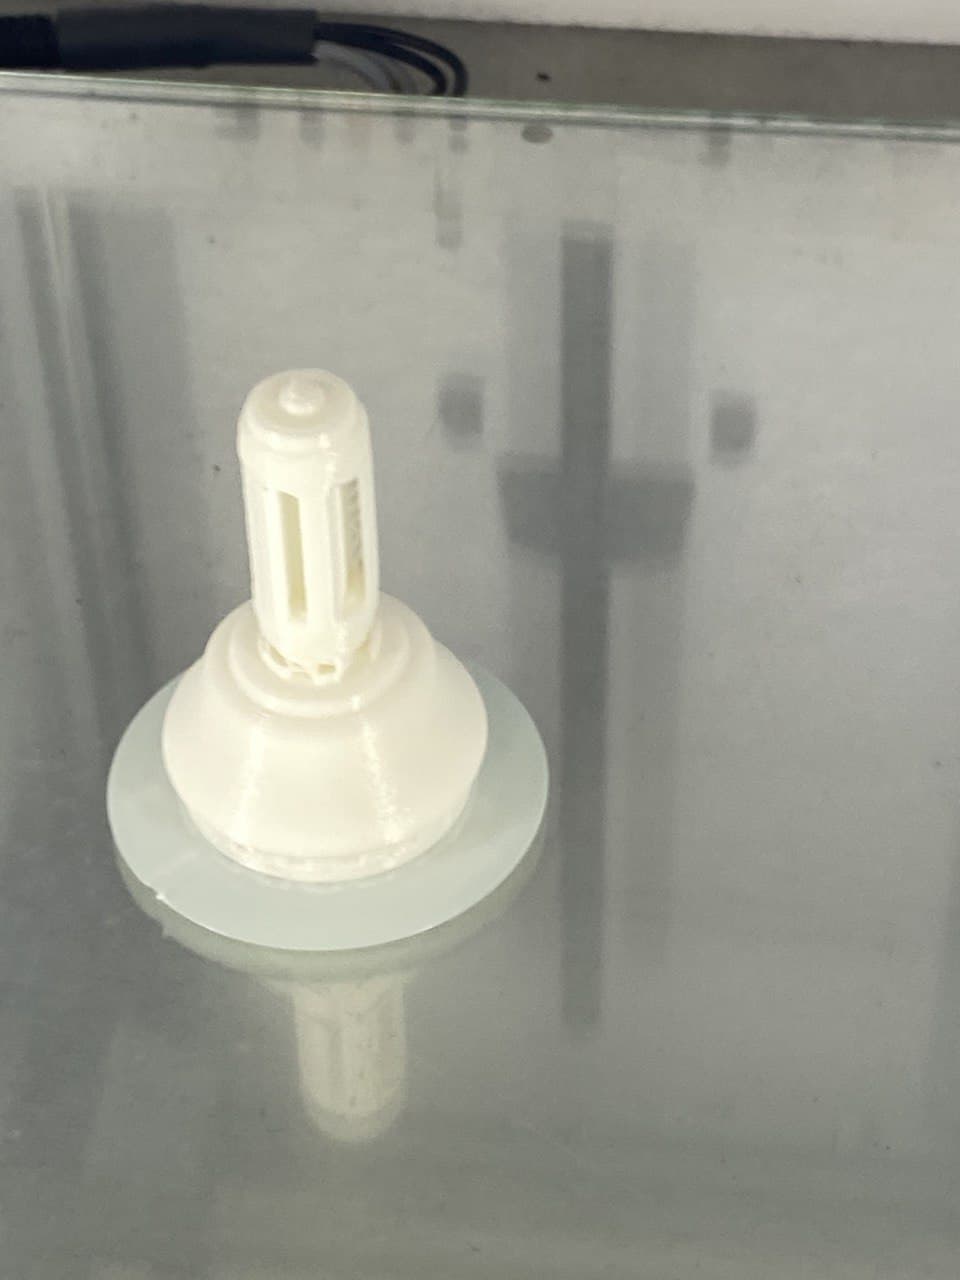
I think rod of the dumbell could be alot stronger but meh, nonetheless my personal creation worked!
I used Ultimaker Cura to import my obj files and learnt alot about the settings such as types of support, speed of print, base print, types of infill etc..
I also created nametags which was one of the class activites. So as usual, I did the sketch, extrude, included my name and done!
Sketch
Model
I had lots of experience of illustrator and photoshop coming from a media school (MAD) so these softwares were not of a problem to me.
As you can see, I vector traced the image of a horse chess piece to include into Fusion 360 which made my life alot easier, espeically for the final project.
Computer Controlled Cutting
First, we used Fusion 360 to make our model. We had to ensure that each piece was symetrical to the opposite pieces and the dimensions are ALL exact. Because any small miscalculation can cost the entire print to be wasted.
So for our first computer controlled cutting class, we made a laptop stand. This laptop stand had to be symetrical on either sides and the holes had to be exact.
This was super fun to do, as I said I love creating models and seeing them come to life. However, we did not print this model and instead print another.
This was my laser cutting print music box that we were tasked to do.
The teacher told us to include a photo on it so I went all special and printed my company logo on it hehe.
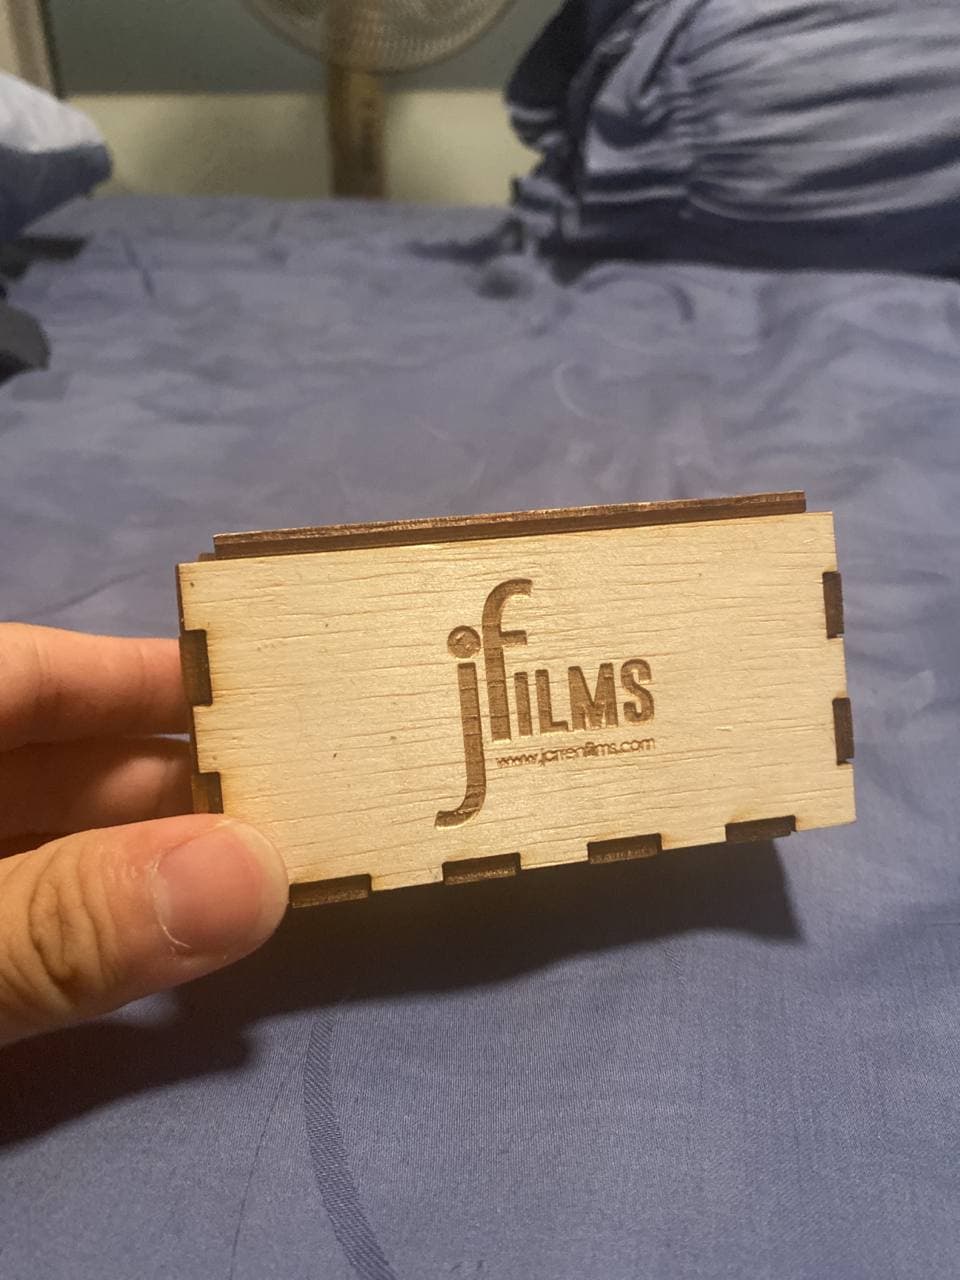
BUT before this, we did sketch it out first in Fusion 360, just like we did for the laptop stand.
I had to make the two front pieces and the side pieces the same. I then improvised the tilting door at the top of the music box. Making it a circle for the pivots to enter.
Sketch
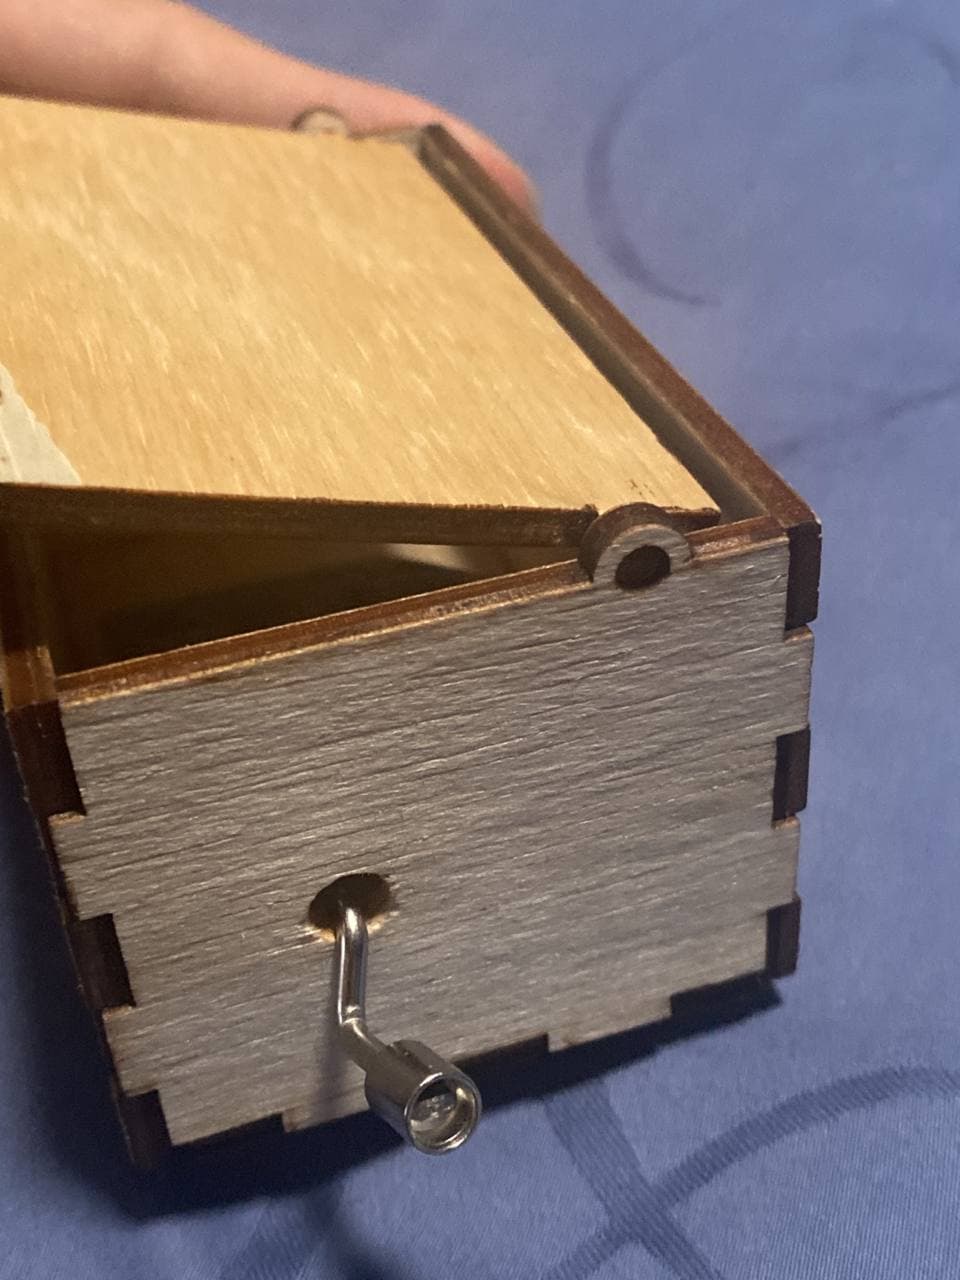
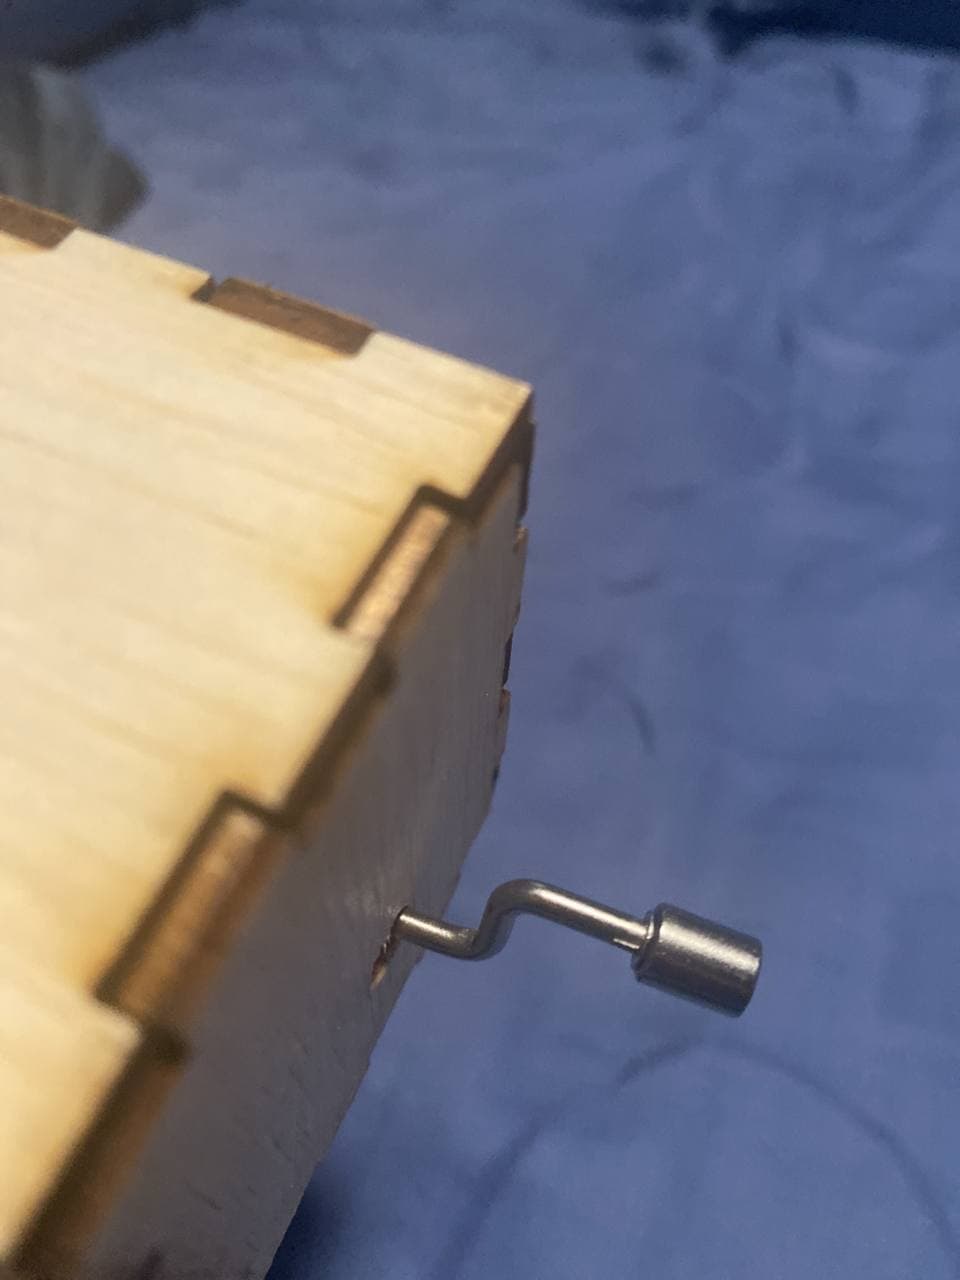
So that is all for computer controlled laser cutting. Using the laser cutting machine was extremely fun and I have so many ideas for it.
created with
Website Builder Software .